How to Get Good Lighting for Photos

Even professional photographers can ruin a perfect shot due to bad lighting. Nearly everyone else has experienced an “oh no” moment when they realize features were obliterated due to bright sunlight or backlighting, a flash cast unsightly shadows, or artificial lighting resulted in otherworldly colors.
Smartphone cameras have made picture-taking so instantaneous that composition and lighting are often ignored. While digital photography has made it possible to fix some errors in post-processing, it takes expertise and patience.
How to Get Perfect Lighting for Pictures
The best lighting for pictures depends on the shooting situation. For example, are you taking photos outdoors or photographing family members inside? Of course, indoor lighting is trickier, but shooting in bright sunlight or low light settings (e.g., dawn or dusk) can also pose numerous issues. Also, don’t forget a tripod is essential for low-light environments and for shots that require greater precision.
Photography Lighting Tips
Never Block Your Light Source
While this may seem obvious, many beginners make this mistake. If lighting is behind you, stand off to the side and not right in front of it. Otherwise, the lighting will be inadequate, or you’ll cast long shadows either across your subject or into the frame.
Use a Broad Light Surface
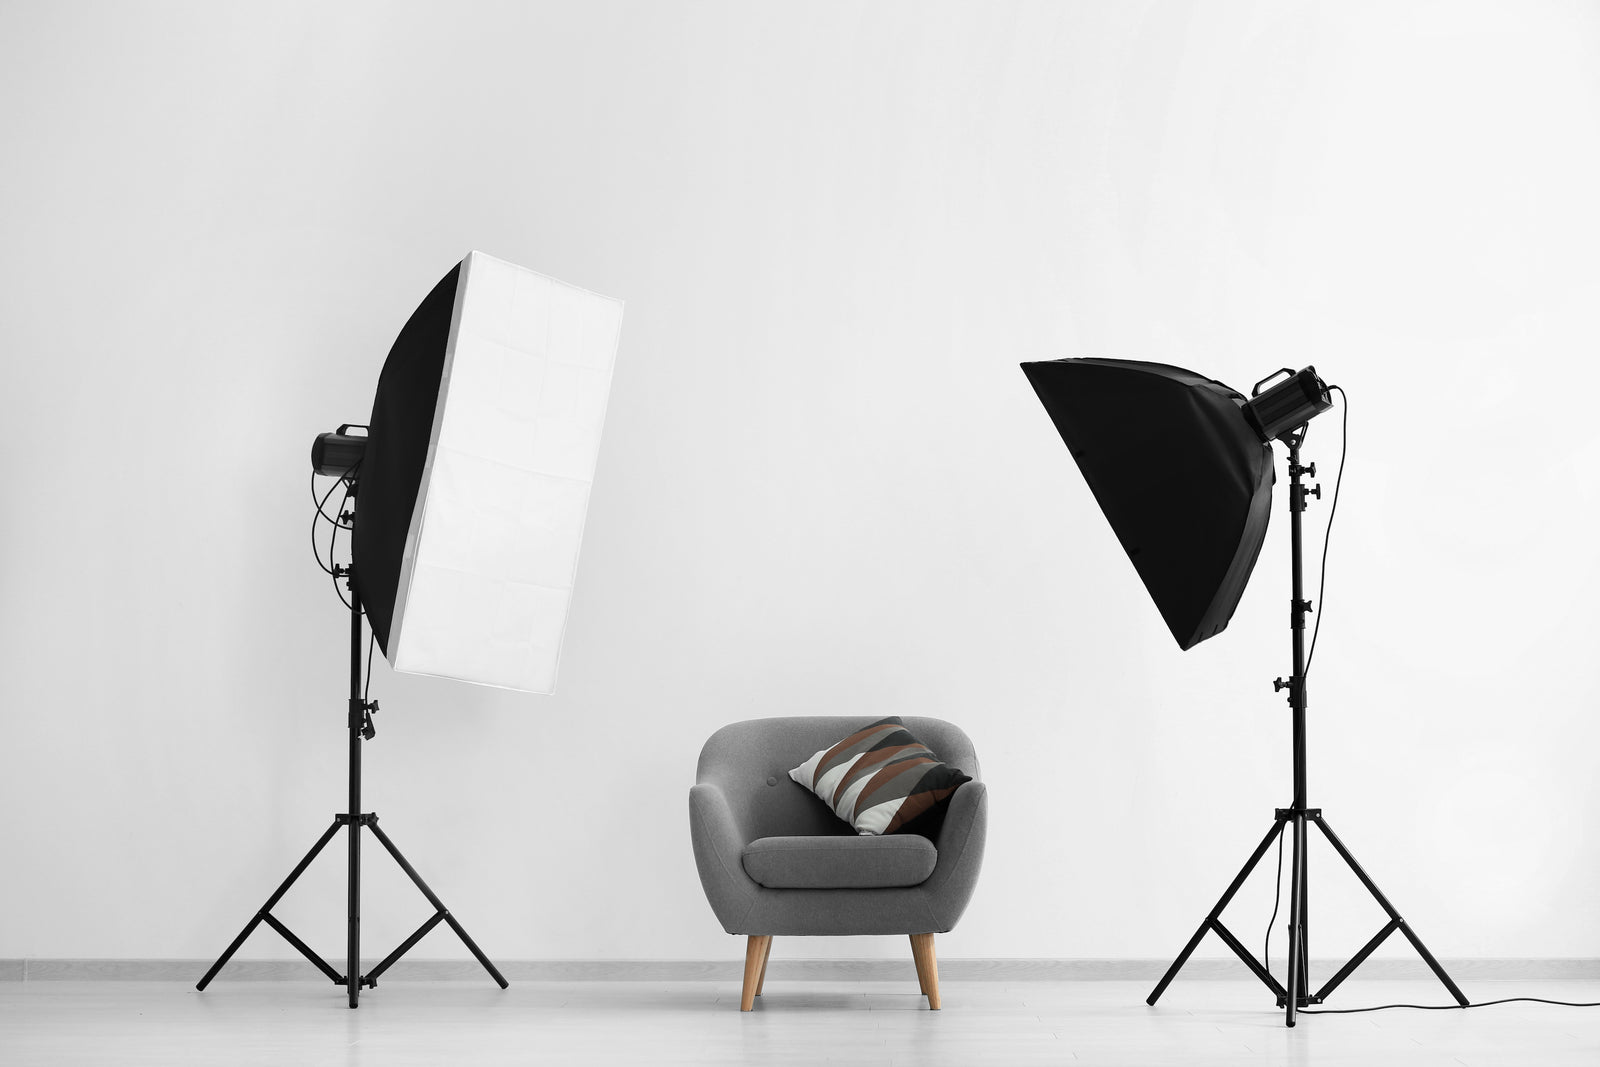
A broad light source casts fewer shadows, while narrow lighting such as flashes and CFL bulbs do the opposite. Broaden sources by bouncing light through a reflector or diffuser such as a photographic umbrella or softbox. The latter consists of translucent cloth attached to the light source (e.g., a studio strobe or speedlight) on a light stand.
Create Shadows and Depth with Side Lighting
While side lighting typically is set up at a 90-degree angle, it doesn’t have to be. Pay attention to where shadows fall, then make minor adjustments to create more interesting or flattering shadows.
Find the Ideal White Balance
Many digital single-lens reflex cameras have white balance and specific light settings (e.g., flash, tungsten, and fluorescent). Of course, when you’re trying to capture fleeting moments, changing these settings may not be practical. Whether you opt for natural or artificial lighting, colors can be cooler (blue), neutral, or warmer (yellow). If you’re relying on lights in your home, it’s best to select neutral daylight bulbs (rated at about 5000 kelvin). It’s even better to turn off all lights and rely on light streaming through windows because natural light provides softer and more flattering images.
Set up Flattering Selfies
In addition to using natural lighting, position the light source at eye level to avoid creating circles under your eyes. When you take selfies, the light source should be pointed towards your nose. After setting up the lighting, angle the camera down slightly before snapping the photo.
Good lighting for photography is as essential to taking outstanding pictures as finding interesting subjects and using the right lens for the shot. So it’s wise to master lighting basics first, then have fun experimenting!
Leave a comment
Comments will be approved before showing up.
Also in Blog


How to Enlarge a Picture for Printing


How to Make a Digital Photo Album